
Learning how to host a Gimkit game is a fantastic way to energize a classroom or group session. By transforming traditional quiz material into an interactive experience, you keep participants engaged and motivated to learn.
Whether you are a teacher planning a review session or a student organizing a study group, understanding the platform’s mechanics is the first step toward a successful session. This guide walks you through the essential steps to get your first live session running smoothly, ensuring you have the tools to manage settings, invite players, and track progress effectively.
Getting Started with Your First Session
To begin hosting, you first need to log into your account at the official Gimkit website. Once you have logged in, navigate to the “My Kits” section where you can either create a new set of questions or select one you have previously saved.
If you are starting from scratch, click the “New Kit” button to define your title, subject, and language. Adding questions is straightforward, as you can type them manually, import them from a spreadsheet, or search the existing library for pre-made content.
After your content is ready, select the kit you want to use and click the “Play” button. You will be prompted to choose between a live game or an assignment. For a real-time classroom experience, always select the live option.
This triggers the lobby screen, which is where your participants will eventually gather. You are now ready to configure the specific rules and parameters that will define the session.
Selecting the Right Mode
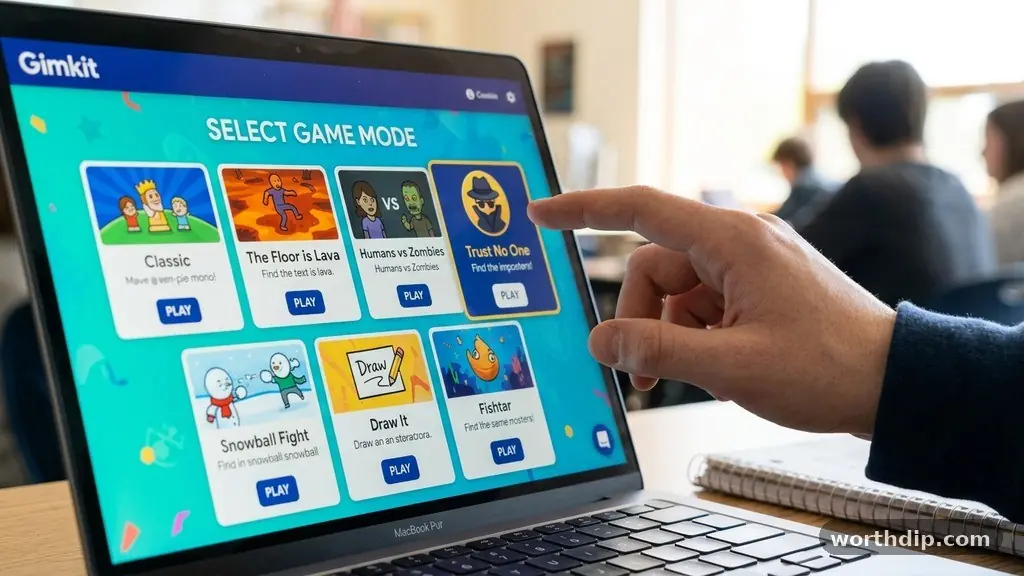
The platform offers a variety of game modes that change how players interact with the content. Selecting the right mode is crucial because it dictates the rhythm and competitive nature of the activity.
For example, some modes focus on individual progress, while others encourage team collaboration. You should consider the age of your group and the learning goals you want to achieve when making this choice.
Some modes introduce complex mechanics, such as resource management or territory control, which can make the experience feel more like a strategy game. Others are simpler and focus purely on answering questions as quickly as possible.
Take a moment to hover over each option in the menu to see a brief description of how it functions. Experimenting with different styles keeps the experience fresh for repeat participants.
Managing Game Options and Settings
Before you finalize the launch, you must review the game options. These settings allow you to customize the experience to fit your specific time constraints and group needs.
You can toggle features like music volume, answer feedback, and power-up availability. These small adjustments prevent the game from becoming too chaotic or frustrating for beginners.
One important setting involves the game duration. You can set the timer for a specific number of minutes or choose to end the round once a player or team reaches a certain amount of cash.
Consider these settings carefully, as they directly impact how long the session will last. You can also decide whether to allow players to join after the game has already started, which is helpful if you have people arriving late.
Distributing the Game Code
Once your settings are dialed in, the game lobby displays a unique code. This code is the key that allows your audience to enter the session.
You should display this code clearly on a projector screen or write it on a whiteboard so that everyone can see it easily. Students join by navigating to the join page on their own devices and entering the digits provided.
It is helpful to wait until the majority of the group has joined before clicking the start button. You can see the list of participants populating in the lobby in real time.
If someone enters with an inappropriate nickname, you have the ability to remove them from the lobby before the game begins. This ensures that the environment remains professional and focused on the intended material.
Monitoring Progress and Reports
Hosting is not just about starting the activity; it is about observing how participants perform. Throughout the session, the host dashboard provides a live view of who is in the lead and who might be struggling.
You can use this information to offer hints or provide extra instruction where it is needed. Seeing the live leaderboard often adds a layer of excitement that keeps the energy high.
Once the session concludes, the platform generates detailed reports. These reports show you exactly which questions were frequently missed and how much time was spent on each topic.
This data is invaluable for future planning, as it highlights gaps in understanding that you may need to address in subsequent lessons. You can export these reports for your own records or to share with colleagues.
Comparison of Game Features
To help you decide which setup works best for your needs, consider the differences between the free version and the premium subscription. While the basic features are sufficient for most casual users, the pro tier offers additional flexibility for frequent hosts. The table below outlines some of the primary differences you might encounter when choosing your setup level.
| Feature | Basic Access | Pro Subscription |
|---|---|---|
| Question Sets | Unlimited | Unlimited |
| Game Modes | Standard Selection | Full Access |
| Detailed Reports | Summary Only | In-Depth Analytics |
| Customization | Limited | Advanced Options |
Troubleshooting Common Hosting Issues
Occasionally, you might run into technical hiccups during a session. A common concern is the player limit, which can prevent some users from joining if the lobby is full.
If you find that only a few people can join, check your subscription level or the specific restrictions of the mode you selected. Most standard modes accommodate large groups, but some experimental ones have lower caps.
Another issue involves connectivity, particularly if you are in a building with spotty Wi-Fi. Ensure that all participants are on a stable connection before starting.
If a student loses their connection, they can usually rejoin the game using the same code, provided you have enabled the “allow late joiners” setting. Keeping a backup plan, such as a paper-based version of the quiz, is always a wise move for those rare moments when technology fails.
Tips for a Successful Experience
To ensure every session is a success, consider the atmosphere you want to create. Here are a few tips to keep in mind when preparing your next event:
- Keep sessions short to maintain high levels of focus and energy.
- Use a mix of different modes throughout the week to keep things interesting.
- Encourage friendly competition by offering small, non-material incentives for winners.
- Review the questions beforehand to ensure there are no errors or ambiguity.
- Provide a practice round if your group is new to the platform’s mechanics.
These simple strategies help manage expectations and create a positive environment. When the host is relaxed and prepared, the participants are much more likely to enjoy the process and retain the information being presented. Remember that the goal is to facilitate learning, so prioritize clarity and engagement over strict adherence to the rules.
Frequently Asked Questions
How do I make sure everyone can join the session?
Ensure that you are sharing the correct, current game code with your participants. If they are having trouble, have them refresh their browser or check their internet connection. You should also verify that your lobby is not set to private or restricted in a way that prevents new entries.
What is the best way to handle large groups?
For very large groups, consider using team-based modes where multiple people work together on one screen. This reduces the burden on your network bandwidth and encourages collaboration. It also makes the leaderboard more manageable and less overwhelming for the participants.
Can I host a session without creating an account?
You generally need an account to save your kits and track progress. While some features might be accessible in limited capacities, creating a free account is the best way to ensure you have full control over your content and reports. It takes only a few minutes to set up.
Why do some modes have different player limits?
Certain modes require more processing power or have specific design constraints that limit the number of simultaneous players. If a specific mode is not working for your group size, try switching to a standard mode like “Classic” or “Team.” These are optimized for larger audiences.
How do I save my report data for later?
After the game ends, the results screen will offer an option to download or export the data. You can usually save these reports as a PDF or spreadsheet file. Make sure to do this immediately after the session, as some data may not be retrievable once you close the browser window.
Conclusion
Hosting a Gimkit game is a rewarding way to bring energy and interaction into any environment. By following these steps, you can confidently manage the lobby, select the right modes, and analyze the performance data to improve future sessions. The key lies in preparation and the ability to adapt to the needs of your group.
Whether you are aiming for a quick review or a longer, more strategic competition, the platform provides all the tools necessary to facilitate a great experience. Start by experimenting with a simple kit today, and you will soon find that hosting becomes second nature. Feel free to explore new modes and settings as you grow more comfortable with the process, and enjoy the process of seeing your participants engage with the material in a whole new way.