
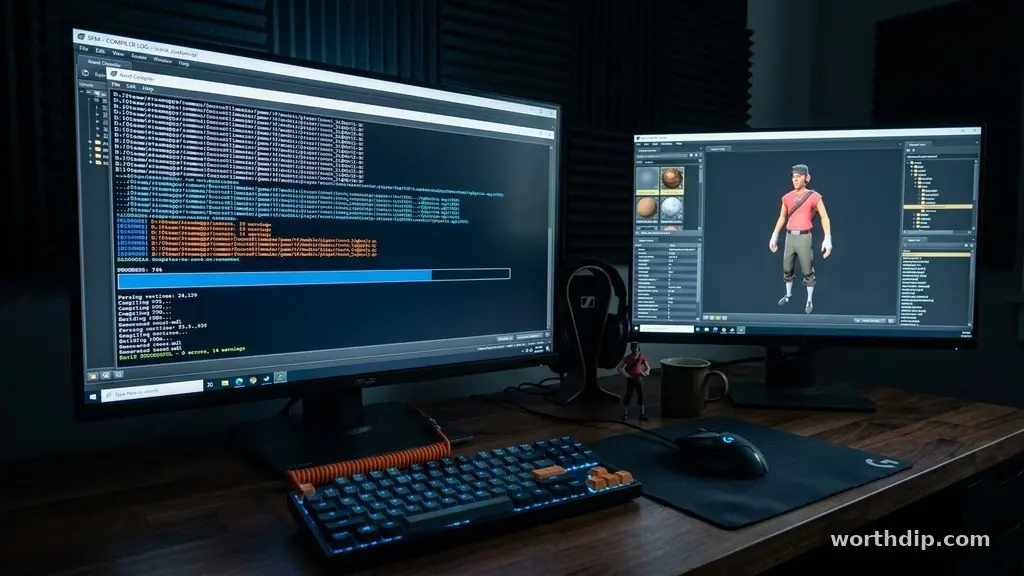
Understanding the SFM compile meaning is essential for anyone diving into 3D animation within the Source Filmmaker environment. At its core, this technical term refers to the process of converting raw 3D assets into a format that the Source engine can actually read, render, and animate.
When you hear creators talk about the need to compile their work, they are describing the final bridge between a digital sculpture and a functional character model. Mastering this transformation allows animators to bring custom creations into their scenes, ensuring that textures, bone structures, and physics behave exactly as intended during the rendering phase.
Defining the Compile Process
The technical definition of an SFM compile meaning involves the translation of geometry, skeleton, and material data into specific game-ready files. When you create a 3D object in software like Blender or Maya, the engine cannot simply “read” those native file types directly.
You must run these files through a compiler, which strips away unnecessary metadata and optimizes the mesh for the real-time constraints of the Source engine. This process generates proprietary file formats, most notably the .mdl, .vvd, and .vtx extensions, which act as the building blocks for your virtual environment.
Without this step, your models would remain static, invisible, or broken within the software interface. The compiler acts as a gatekeeper, checking for errors in your rigging or UV mapping before allowing the asset to exist in the engine.
If your vertex weights are improperly assigned or your texture paths are broken, the compiler will often throw an error, preventing the creation of the final files. This creates a feedback loop where you refine your model, attempt to compile, check for errors, and repeat until the engine accepts the data.
Working with Source Engine Assets
The Source engine relies on a strict directory structure to locate the assets required for animation. When you successfully compile a model, you aren’t just creating a single file; you are generating a family of files that must live in specific folders.
These folders, typically found within the “usermod” directory, tell the engine where to find the high-resolution textures and the physics data. If you move a compiled model without moving its associated materials or sounds, the engine will display the infamous “checkerboard” error, signaling that it cannot find the visual data.
Effective asset management requires you to keep your raw source files separate from your compiled game files. Developers often maintain a “modelsrc” folder that contains the original high-poly meshes and animation sequences, while the “models” folder serves as the production-ready destination.
By keeping these environments distinct, you prevent clutter and make it significantly easier to update a model later. If you need to make a small change to a character’s facial expression, you simply re-run the compiler to overwrite the existing files in the game directory.
The Role of the Model Compiler
The actual tool responsible for this transformation is a command-line utility, often referred to as the studiomdl compiler. While many modern users prefer graphical interfaces or batch scripts to simplify the experience, the underlying engine remains the same.
You provide this compiler with a Quality Control file, commonly known as a .qc file, which serves as a set of instructions. This text file dictates the path of your meshes, the names of your animations, the collision bounds, and the surface properties of the material.
The .qc file is the brain of the operation, acting as a translator between your creative intent and the engine’s rigid requirements. Within this file, you define which animation sequences belong to which model and how the physics engine should treat the object if it falls or gets hit.
Because the compiler is a command-line tool, it provides a detailed log of its activities. Learning to read these logs is a critical skill, as they pinpoint exactly where a compile might have failed, such as a missing texture file or an invalid bone assignment.
Common Challenges in Compiling
One of the most frequent hurdles newcomers face is the “bad link” error, which usually indicates that the compiler cannot find the source mesh or a specified texture. This often happens when file paths are hardcoded into the .qc file rather than being relative to the project folder.
Ensuring that all your file paths are clean and consistent is the best way to avoid these headaches. Another common issue involves “bone overflow,” which occurs when a character model has more bones than the engine is designed to handle at once.
Physics and collision hulls also present a unique set of challenges during the compilation phase. If your collision mesh is too complex, the engine may struggle to calculate movement and interaction, leading to stuttering or crashes.
You must simplify your collision geometry into basic shapes—like spheres, boxes, and cylinders—to ensure the engine runs smoothly. Balancing visual fidelity with performance is the primary goal of any experienced animator, and learning how to optimize your collision data is a major part of that balancing act.
Comparing Asset Formats
To better understand the workflow, it helps to look at how different file types function within the Source pipeline. While many users start by importing static props, moving into character animation requires a deeper understanding of how these files interact with the engine.
| File Extension | Function | Importance |
|---|---|---|
| .qc | Quality Control | The instruction manual for the compiler. |
| .mdl | Model Data | The final, readable model file for the engine. |
| .vmt | Material Type | Defines how light and textures interact with the surface. |
| .vtf | Valve Texture File | The actual image data used by the model. |
Each of these files plays a specific role in the overall SFM compile meaning. The .mdl file is what you actually drag and drop into your animation scene, but it would appear as a white, untextured silhouette without the .vmt and .vtf files to define its appearance.
This modular approach allows for incredible flexibility, as you can update a texture without needing to re-compile the entire model geometry. By understanding this hierarchy, you can troubleshoot issues much faster than someone who treats the model as a single, opaque object.
Software Requirements and Tools
You don’t need a supercomputer to compile models, but you do need a reliable set of tools. Most animators rely on a combination of 3D modeling software, such as Blender, and specialized plugins that bridge the gap to the Source engine.
The Valve Developer Community remains the primary resource for documentation on how to set up your environment correctly. Using these established tools ensures that your files are compatible with the latest versions of the engine, preventing long-term headaches.
There are several community-made graphical user interfaces (GUIs) that can wrap around the studiomdl compiler, making the process much more intuitive. These tools allow you to drag and drop your .qc file and see the progress in real-time without needing to manually open a command prompt.
While these wrappers are excellent for beginners, they still rely on the same fundamental rules as the command-line version. Taking the time to understand the manual process will serve you well if you ever encounter a niche error that a GUI cannot explain.
Best Practices for Efficiency
Efficiency in the compilation pipeline comes down to organization and testing. Never try to compile a massive, complex project in one go. Instead, start by compiling a simple static prop to ensure your directory paths are correct.
Once you have a successful workflow, move on to animated characters, and finally, add complex physics and hitboxes. This incremental approach saves hours of frustration, as you will know exactly which step introduced an error if the compilation fails.
Another vital practice is version control. Before you make significant changes to your character’s skeleton or mesh, save a backup of your working directory. It is remarkably easy to accidentally break a model that was previously working, and having a “known good” version to revert to is a lifesaver.
Keep your textures organized in a logical folder system so that you aren’t hunting for files when you should be focusing on animation. Over time, these habits will turn a daunting technical task into a standard, automated part of your creative workflow.
FAQ Section
What does SFM compile mean in simple terms?
It means converting your 3D model from a format like .obj or .fbx into the specific file types that the Source engine recognizes. It is the bridge between your 3D software and the animation program.
Do I need to be a programmer to compile models?
Not at all. While the compiler is a technical tool, it follows a set of instructions you write in a simple text file. As long as you can follow a template and organize your files, you can learn the process.
Why does my model look like a purple and black checkerboard?
This happens when the engine cannot find the texture files associated with your model. Check your .vmt files to ensure they point to the correct location of your .vtf texture files.
Is it possible to edit a model after it is compiled?
Yes, but you usually have to edit the original source files and re-compile them. You cannot easily “decompile” a model and edit it directly, so always keep your original source files safe.
Are there tools to automate the compilation process?
Yes, there are several community-made GUI tools that make the compilation process much more visual. These tools act as a user-friendly interface for the underlying command-line compiler.
The process of bringing your creative vision to life within the Source Filmmaker ecosystem is a rewarding journey that blends technical precision with artistic expression. By understanding the SFM compile meaning, you gain the power to import custom assets and truly make your projects your own.
While the initial learning curve regarding .qc files and directory structures might seem steep, the consistency of the engine rewards those who take the time to learn the fundamentals. Remember that every master animator started with the same basic errors and roadblocks you might face today.
Keep your file structures clean, maintain your source assets diligently, and don’t be afraid to experiment with different settings as you refine your models. The community surrounding these tools is vast and helpful, providing a wealth of resources for when you hit a wall.
Once you have successfully compiled your first custom character, the entire library of the Source engine opens up to you. Start small, stay organized, and enjoy the process of turning static digital data into a living, breathing part of your next animation.